How I Built VikizCode Using Next.js (Step-by-Step)

VikizCode Team
February 12, 2026 · 8 min read
✨ AI-Generated Summary
A step-by-step breakdown of how I built my own tech blog using Next.js, Tailwind CSS, GitHub, and Netlify — from idea to live deployment.
The Hook: Why I Started Building Instead of Just Learning
I'm an engineering student. For the longest time, I was stuck in tutorial hell — watching course after course, building the same to-do apps, following along without really understanding.
Then I realized something: I wasn't building anything mine.
So I decided to create VikizCode — my own tech blog where I could document what I learn, share insights, and actually have something to show for all those hours spent coding.
This is the story of how I built it from scratch using Next.js. No fluff, no corporate speak — just the real process.
Why I Built VikizCode
Three reasons pushed me to finally start:
1. Personal Brand
In 2026, having a digital presence isn't optional anymore. Whether you're applying for internships or freelance gigs, people Google you. I wanted them to find something I built, not just my LinkedIn.
2. Digital Survival Mindset
The tech world moves fast. If you're not documenting what you learn, you're falling behind. I needed a place to organize my thoughts and share them publicly.
3. Learning in Public
There's something powerful about writing for an audience. It forces you to understand things deeply. Plus, helping others learn is the best way to solidify your own knowledge.
Choosing the Tech Stack
I didn't want to overcomplicate things. Here's what I chose and why:
Next.js 14 (App Router)
Next.js is the obvious choice for modern React apps. The App Router makes routing dead simple, and the developer experience is incredible. Plus, it's what most companies are using in 2026.
Static Export
I wanted my blog to be fast and cheap to host. Static export means no server costs, lightning-fast load times, and easy deployment anywhere.
Tailwind CSS
I'm not a designer. Tailwind lets me build decent-looking UIs without writing custom CSS. Utility classes might look messy at first, but once you get used to them, you move fast.
GitHub + Netlify
Version control with Git is non-negotiable. Netlify makes deployment stupidly easy — push to GitHub, and it auto-deploys. No DevOps headaches.
Step-by-Step: How I Built It
Creating the Next.js Project
I started with the official Next.js starter:
npx create-next-app@latest vikizcode
cd vikizcode
npm run dev
Simple. Clean. No overthinking.
Setting Up the Project Structure
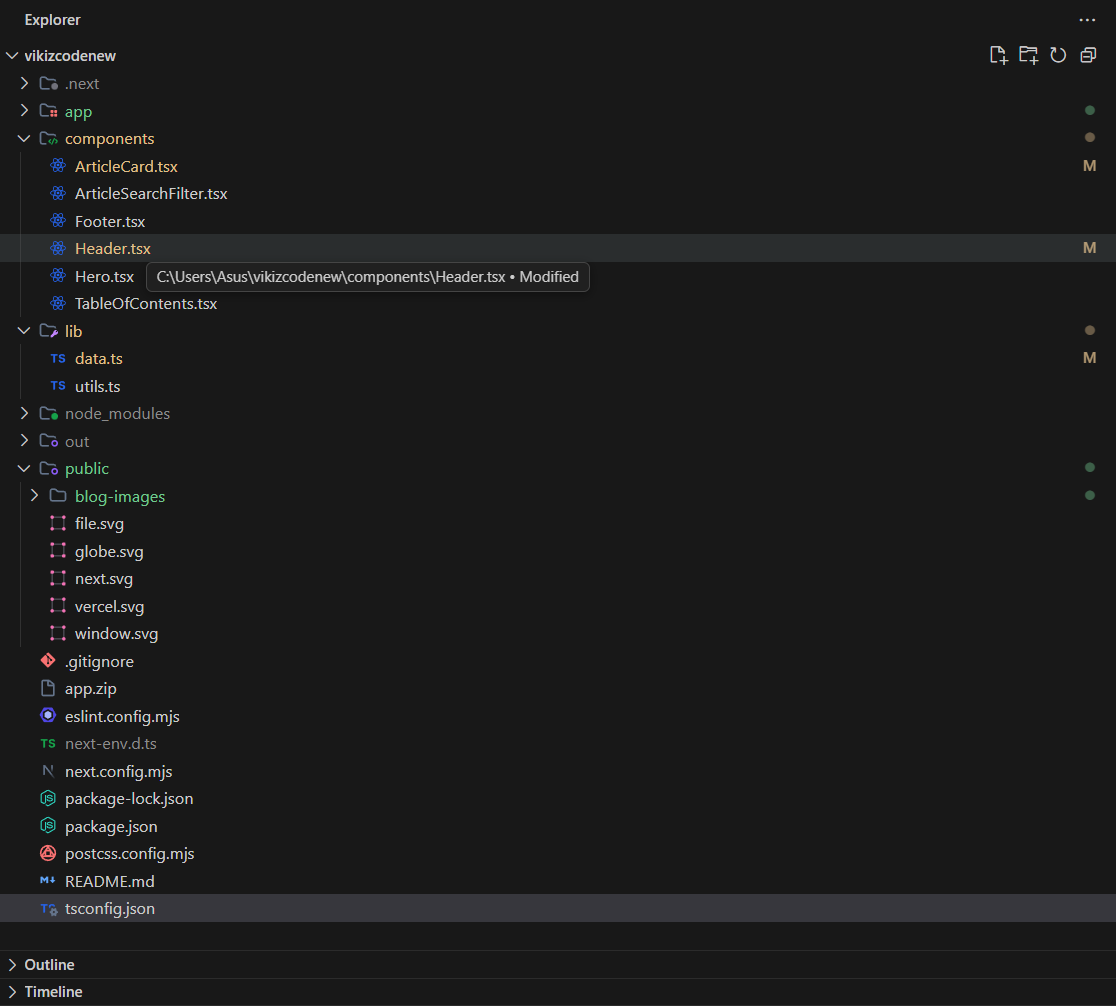
I organized everything into clear folders:
- app/ — All my pages (home, about, contact, blog posts)
- components/ — Reusable UI components (Header, Footer, ArticleCard)
- lib/ — Data and utility functions
- public/ — Static assets like images
Keeping it simple meant I could find things quickly without getting lost in folders.
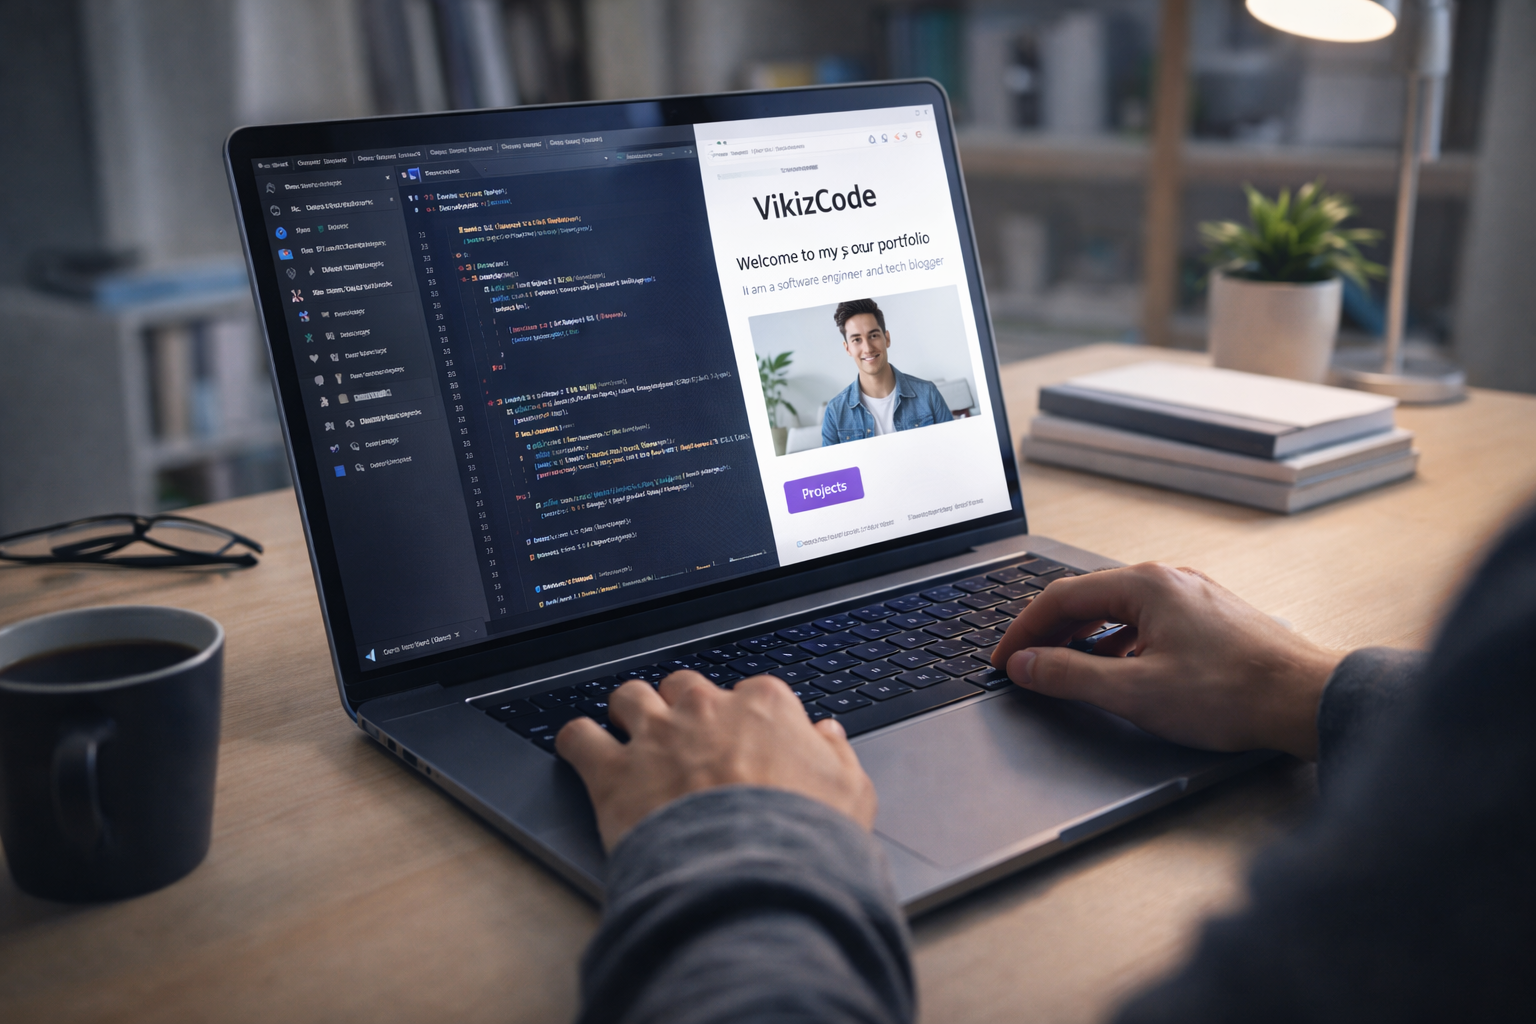
Designing the UI
I'm not a designer, so I kept things minimal. I used:
- A clean blue/indigo color palette
- Plenty of white space
- Simple card-based layouts
- Subtle hover effects for interactivity
The goal was "professional but approachable" — not too corporate, not too flashy.
Handling Blog Routing
Next.js App Router makes this easy. I created:
app/blog/[slug]/page.tsxfor individual blog posts- A data file in
lib/data.tsto store all articles - Dynamic routing that pulls the right article based on the URL
No database needed. Just TypeScript objects. Simple and fast.
Static Generation
I configured Next.js for static export in next.config.js:
module.exports = {
  output: 'export',
  images: { unoptimized: true }
}
This generates pure HTML/CSS/JS that can be hosted anywhere. No server required.
Deployment and Going Live
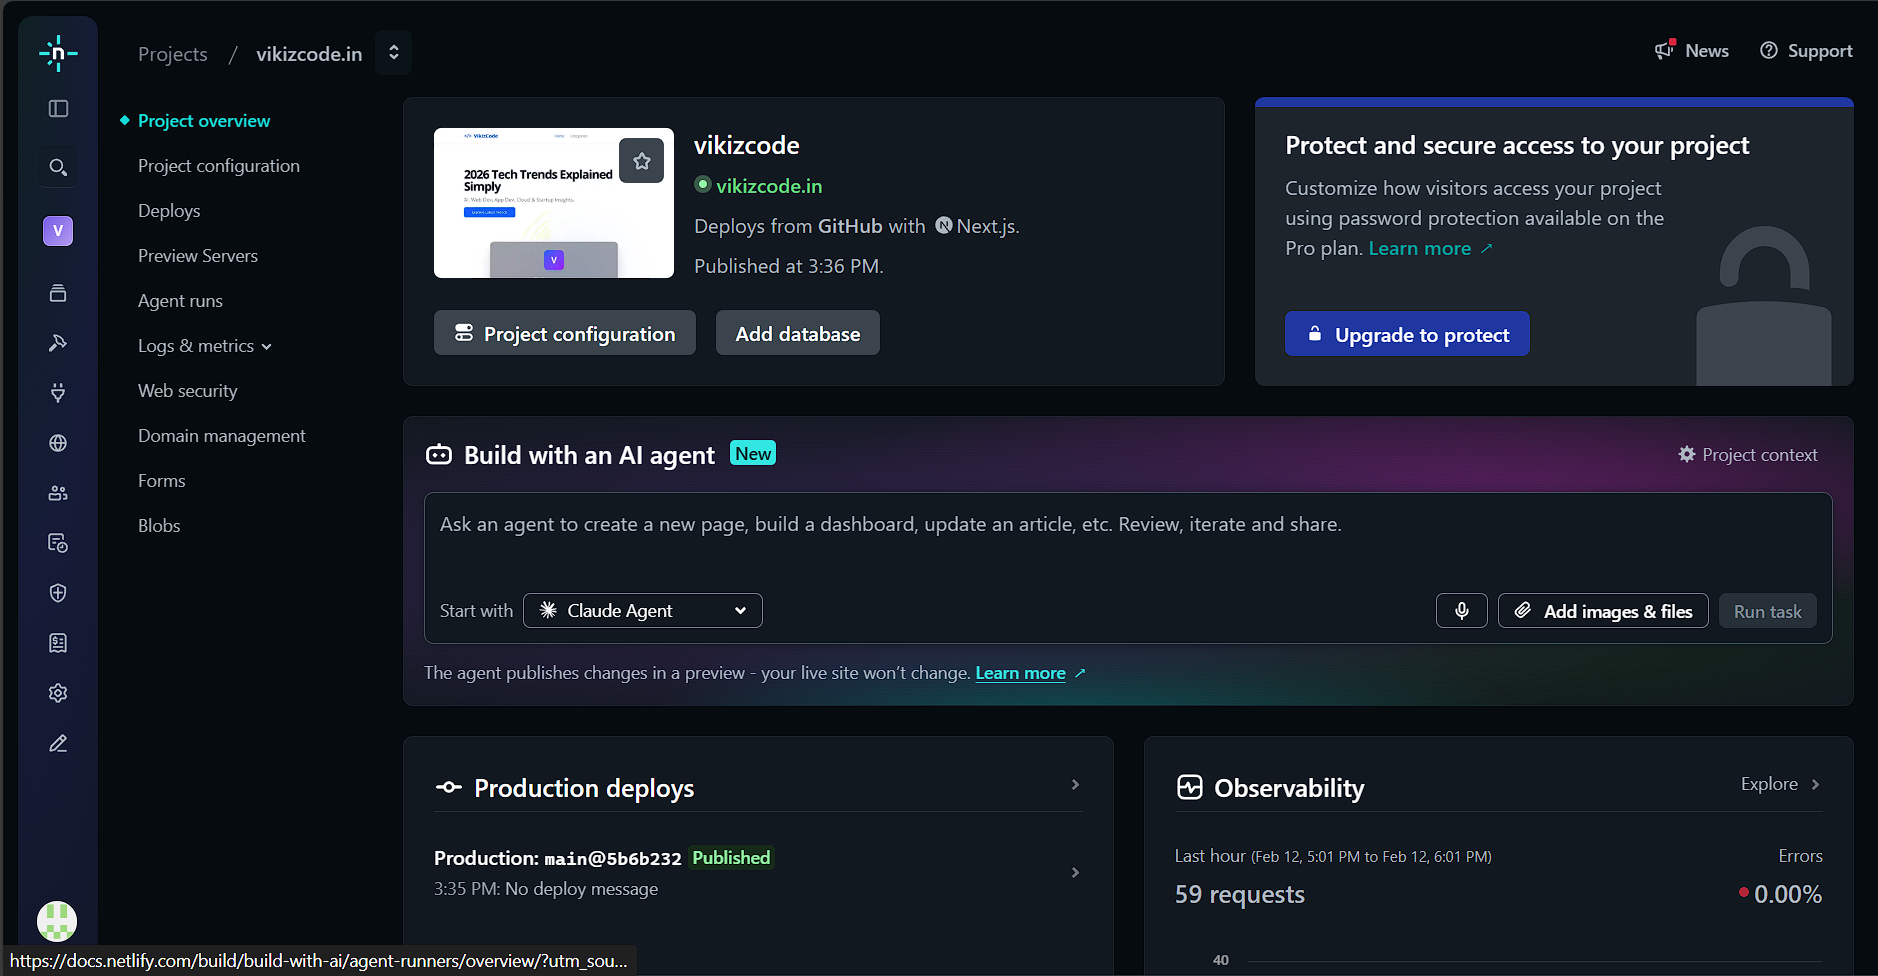
Deploying to Netlify was the easiest part:
- Pushed my code to GitHub
- Connected my repo to Netlify
- Set build command to
npm run build - Hit deploy
Five minutes later, VikizCode was live on the internet.
Challenges I Faced
It wasn't all smooth sailing. Here's what tripped me up:
Stack Confusion
At first, I tried using a CMS, then considered a database, then thought about using MDX. I wasted days overthinking. Eventually, I just went with the simplest solution: a TypeScript file with article data.
Overthinking Design
I spent way too long tweaking colors and spacing. At some point, I had to accept that "good enough" is better than "perfect but never shipped."
Deployment Fear
I was scared to deploy. What if something broke? What if people hated it? Turns out, nobody cares as much as you think. Just ship it.
Wanting Perfection
The biggest challenge was my own perfectionism. I kept adding features, redesigning components, and delaying launch. Finally, I forced myself to go live with a basic version.
What I Learned
Building VikizCode taught me more than any tutorial ever could:
Launch > Perfection
A live, imperfect project is infinitely better than a perfect project that never launches. You can always improve later.
Simplicity Wins
I tried to add so many features — comments, analytics, newsletter integration. In the end, I stripped it all back. A simple blog that works is better than a complex one that's half-finished.
Shipping Builds Confidence
The moment I deployed VikizCode, I felt different. I wasn't just a student following tutorials anymore. I was someone who builds things.
Final Advice for Engineering Students
If you're reading this and thinking "I should build something too," here's my advice:
Build Something Small
Don't try to build the next Facebook. Build a blog. Build a portfolio. Build a simple tool you'd actually use. Small projects get finished.
Deploy Publicly
Don't keep your projects on localhost. Put them on the internet. It's scary, but it's the only way to get real feedback and feel like a real developer.
Stop Waiting to Feel Ready
You'll never feel 100% ready. I didn't know everything about Next.js when I started. I learned by building. That's how it works.
So go build something. Make it yours. Ship it. And then do it again.
That's how you actually learn.
Want to see the code? VikizCode is open source. Check it out on GitHub and feel free to use it as a starting point for your own blog.
View Source Code
Check out the complete source code for VikizCode on GitHub
Stay Updated with VikizCode 🚀
Join us to get fresh web dev guides, AI tools, and deployment tips directly in your inbox.
NO SPAM. JUST PURE GEEKY GOODNESS.